Floor Buffs and Enemy Notes
Match the buff before you lock a favorite Resonator. Wrong element on a white tower wastes a unit you need in Hazard.
Resonant Tower
Enemies take more Havoc damage. Basic Attack hits stack All-Attribute DMG. Camellya fits the buff and stays off the ground when Dragon of Dirge spikes the floor. Park spare Fusion and top Hazard DPS elsewhere; Augusta works here if Camellya sits busy.
Echoing Tower
Aero RES drops. Intro Skill feeds Crit DMG and Basic Attack DMG. Floor 4 boss Lampylumen Myriad paints ice pools; ten Glacio stacks freeze you. Strafe left and right to break the ice. Park Cartethyia here. Keep Hiyuki off this tower so she stays fresh for Hazard 2.
Hazard Tower Floors 1–2
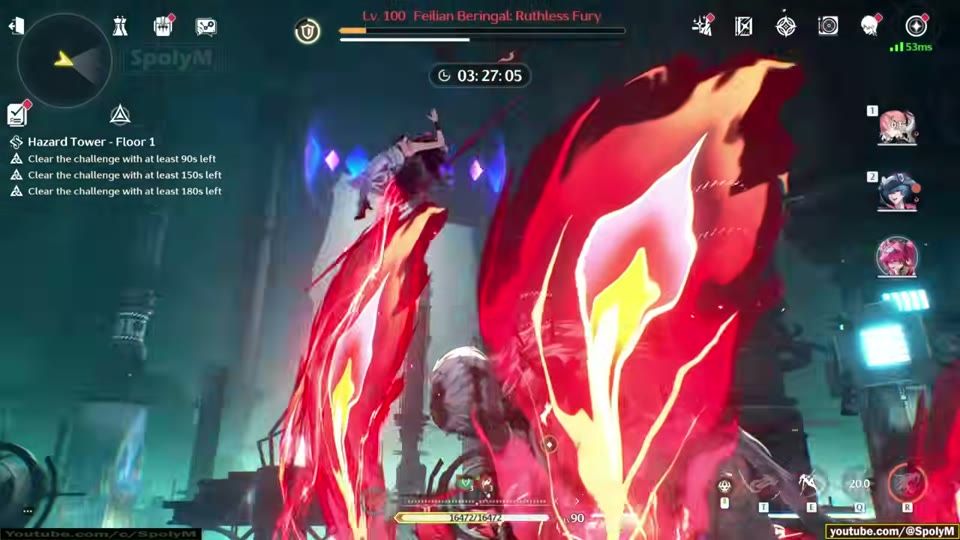
Spectro and Fusion get the DMG lane. Aero and Electro sit at a RES penalty. Floor 1 Feilian Beringal is a HP sponge: dodge the grab and tornado. Floor 2 Nameless Explorer jets around the arena; break the pack on his back first. Tune Strain from Lynae, Denia, or Luuk opens vulnerability windows.
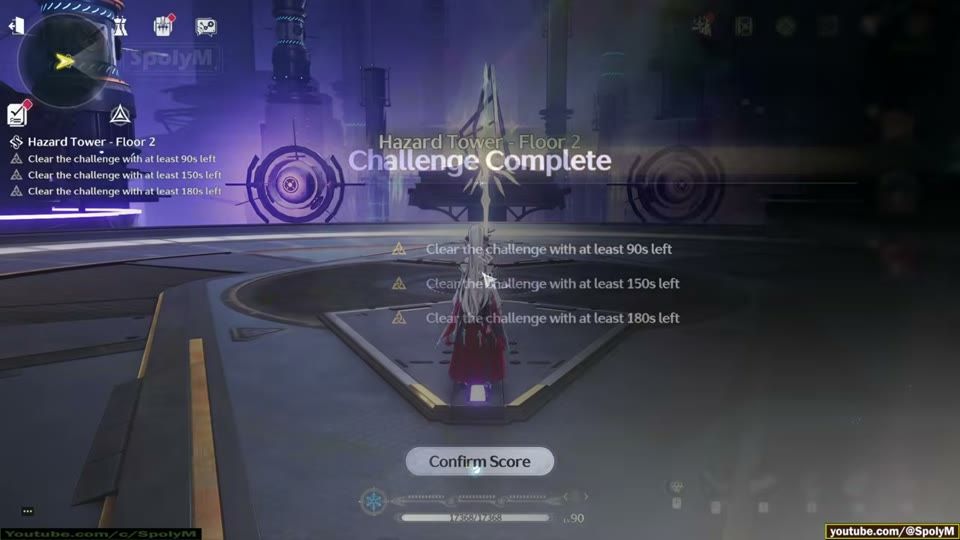
Hazard Tower Floors 3–4
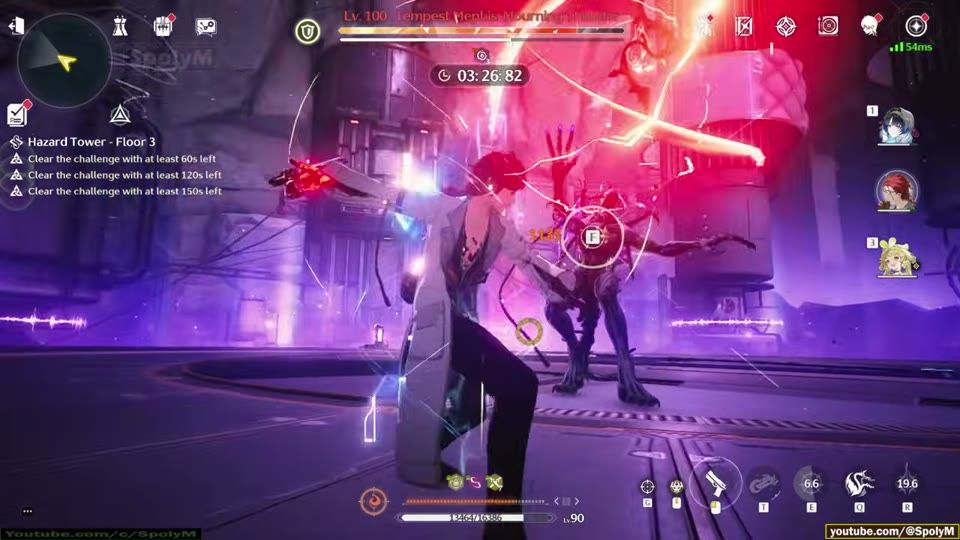
Combat ramps Total DMG over time. Negative Status or Tunability strips the 15% All-Attribute RES. Tune Rupture skills stack personal DMG. Havoc Bane adds a large personal DMG window for Yangyang: Xuanling. Enemies resist Electro, so Augusta and Rebecca underperform here.
Floor 3 waves push Explorer cars, Mining Reindeers, Questless Knight, then Tempest Mephis. Floor 4 pairs Mech Abomination’s laser with Thundering Mephis teleports. Stay close on the laser. Thundering Mephis staggers more easily than Tempest.
Recommended Team Comps
Changli Fusion (Hazard 1)
Role | Resonator | Notes |
|---|
Main DPS | Changli S0 | Signature optional at R1; TrueSight Skill loops carry the timer |
Sub / buffer | Lupa | Foebreaker and Firestrike windows feed Fusion pressure |
Flex | Brant | Liberation → Mid-air → Echo → Skill[Forte] Out keeps Concerto hot |
Rotation skeleton (S0R1):
Changli Liberation → Heavy Attack [Forte]
Lupa Skill ×2 → Echo → Liberation → Skill [Foebreaker] → Mid-air [Firestrike] → Heavy Attack [Wolf's Claw] → Skill [Forte] Out
Brant Intro → Liberation → Mid-air → Echo → Skill [Forte] Out
Changli Intro → TrueSight Skill ×3 → Basic Attack 4 → TrueSight Heavy Attack [Forte] → Liberation → Heavy Attack [Forte] Out
Hiyuki Glacio Chafe (Hazard 2)
Role | Resonator | Notes |
|---|
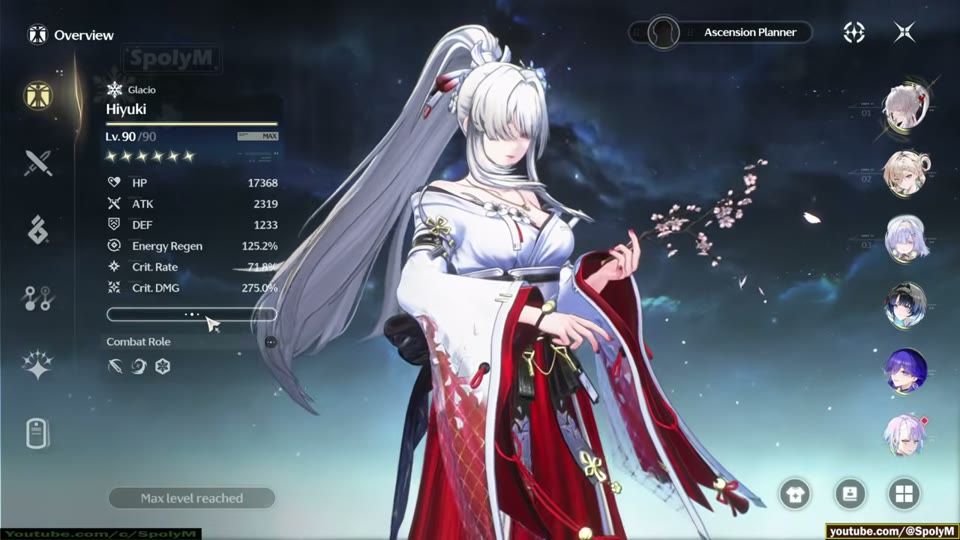
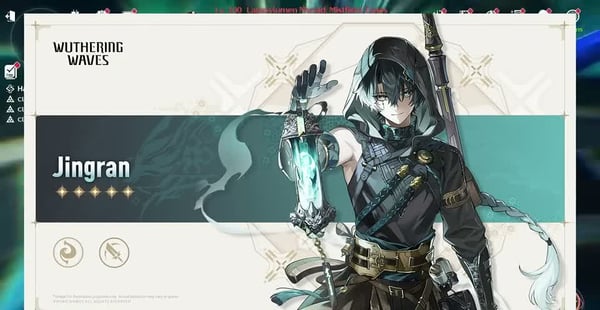
Main DPS | Hiyuki S0 | Glacio Chafe is the win condition; ~70% Crit Rate / 270%+ Crit DMG target |
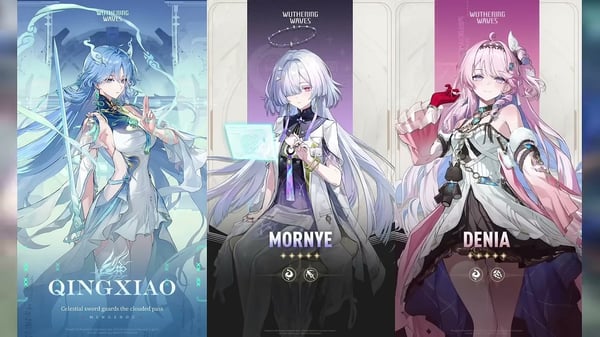
Battery / amp | Mornye | Geopotential / Inversion setup before Hiyuki enters |
Flex | Lynae | Full Lumiflow Forte chains; applies Strain for Explorer windows |
Echo target for Hiyuki: Crit Rate / Crit DMG first, then ATK% and Energy Regen around 125%. A working S0R1 sample sits near 71.8% Crit Rate / 275% Crit DMG / 2,319 ATK.
Rotation skeleton:
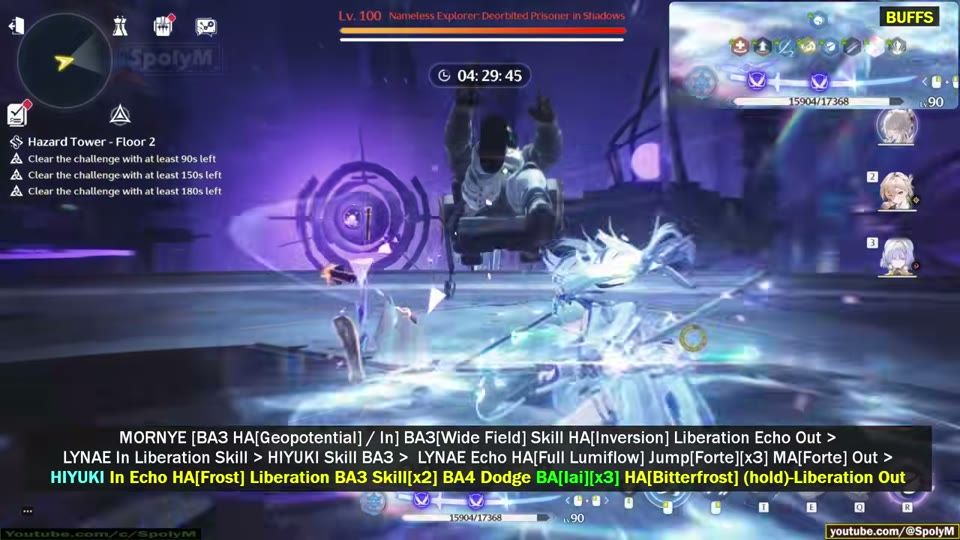
Mornye Basic Attack 3 → Heavy Attack [Geopotential] / Intro → Basic Attack 3 [Wide Field] → Skill → Heavy Attack [Inversion] → Liberation → Echo Out
Lynae Intro → Liberation → Skill
Hiyuki Skill → Basic Attack 3
Lynae Echo → Heavy Attack [Full Lumiflow] → Jump Forte ×3 → Mid-air Forte Out
Hiyuki Intro → Echo → Heavy Attack [Frost] → Liberation → Basic Attack 3 → Skill ×2 → Basic Attack 4 → Dodge → Basic Attack [Iai] ×3 → Heavy Attack [Bitterfrost] (hold) → Liberation Out
Yangyang: Xuanling + Mortefi (Hazard 3–4)
Role | Resonator | Notes |
|---|
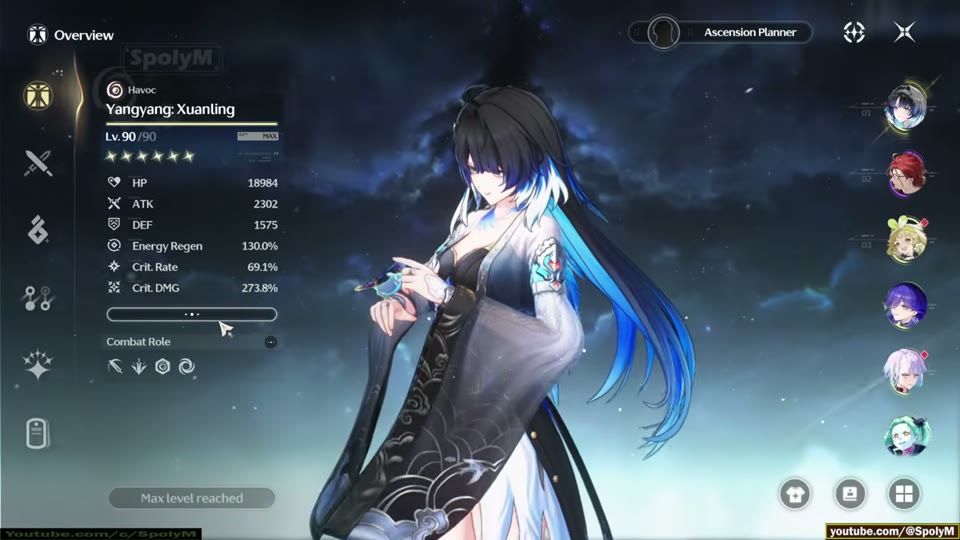
Main DPS | Yangyang: Xuanling S0 | Havoc Bane + Heavy Attack windows; ~69% Crit Rate / 270%+ Crit DMG |
Sub / buffer | Mortefi | Heavy Attack Outro; high Energy Regen for Liberation uptime |
Sustain | Verina | Heal + team ATK; keeps the Total DMG ramp alive |
Yangyang: Xuanling sample build: 69.1% Crit Rate / 273.8% Crit DMG / 2,302 ATK / 130% Energy Regen. Mortefi wants Crit Rate near 80%, Crit DMG near 220%, and Energy Regen above 250% so Liberation stays online. Sequence 4 on Mortefi extends Liberation duration; S0 still clears if your Echoes sit at +25.
Rotation skeleton:
Verina Basic Attack 5 / Intro → Skill → Liberation
Yangyang: Xuanling Basic Attack 3
Verina Forte Out
Mortefi Intro → Skill → Skill [Forte]
Yangyang: Xuanling Basic Attack 3 → Mortefi Basic Attack 4
Verina Echo → Mortefi Basic Attack 4 → Liberation → Skill [Forte] → Echo Out
Yangyang: Xuanling Intro → Echo → Skill → Heavy Attack [Feather] → Mid-air [Feather Fall] → Basic Attack 3 [Havoc in Bloom] → Liberation → Skill → Heavy Attack [Azure] Out
Spare White-Tower Options
Resonant: Camellya + Shorekeeper + Youhu (or Verina)
Echoing spare: Sigrika or Changli if Cartethyia covers another board
Hazard flex: Aemeath / Luuk Herssen / Lynae when Spectro boards open and Changli sits busy
How to Clear 36 Crest Tower of Adversity
Open the Tower terminal and read every floor buff before you lock teams. Assign one hypercarry per tower pair.
Auto-clear early Resonant and Echoing floors if your account already unlocked them from prior Crests. Spend Vigor on Floor 4 and Hazard.
Start Hazard 1 with Changli + Lupa + Brant. Keep Feilian Beringal’s grab and tornado off your Liberation windows.
Save Hiyuki for Hazard 2. Land Glacio Chafe first to strip RES, then spend Liberations into Nameless Explorer after the jetpack breaks.
Park Yangyang: Xuanling + Mortefi + Verina on Hazard 3–4. Trigger Havoc Bane early so the 45% personal DMG window overlaps the Total DMG ramp.
Retry a floor if you miss the top timer by a few seconds. Swap a sustain for a second sub-DPS before you rebuild Echoes from scratch.
Need more Astrite before the next Hazard reset? Grab free codes first, then top up Lunites on VGTopup if you still sit under soft pity.
How to Get More Crests and Resources
Claim Hazard rewards at 3 / 6 / 9 … / 36 Crests. Full clear pays Astrite, Shell Credits, Hazard Records, and upgrade mats each reset.
Farm Tacet Fields during double Echo events before you commit to +25 main pieces.
Track banner timing on the Wuthering Waves 3.6 Banner Schedule so you do not spend Waveplates the week a new ToA DPS lands.
Cross-check who still clears endgame on the Wuthering Waves 3.3 Endgame Tier List.
UID top-up on VGTopup Wuthering Waves delivers Lunites without sharing a password. Check the server and UID twice before you pay.
FAQ
How many Crests do you need for full Tower of Adversity rewards?
Hazard Zone pays stepwise rewards through 36 Crests. Hit every timer tier on Resonant, Echoing, and Hazard floors in the current rotation. Prior 24–30 Crest accounts may auto-clear early white floors; you still run Floor 4 and Hazard for the last brackets.
Can you clear 36 Crest with S0R1 teams in Version 3.5?
Yes. S0 Changli, S0 Hiyuki, and S0R1 Yangyang: Xuanling cover the three Hazard lanes if Echoes sit at +25 with Crit rolls and supports hold Concerto. Signature weapons speed the timer; they are not a hard gate on this rotation. Mortefi Sequence 4 helps Liberation uptime but is optional.
Who should you pull first for this Tower of Adversity?
If you lack a Glacio Chafe DPS, pull Hiyuki for Hazard Floor 2. If you lack a Havoc Bane carry, pull Yangyang: Xuanling for Hazard Floors 3–4. Changli + Lupa cover Fusion Hazard boards. Fill the empty tower lane first.
What does Hiyuki want for Tower of Adversity?
Build Crit Rate and Crit DMG first, then ATK% and enough Energy Regen to Liberation on cooldown. Land Glacio Chafe before you dump Liberations. Pair her with a Strain / buffer package (Mornye + Lynae or Lucilla + Chisa) so Nameless Explorer stays vulnerable.
Does Tower of Adversity reset wipe Stable and Experimental rewards?
Hazard Zone resets on a two-week cycle and refreshes its Crest ladder. Stable and Experimental keep permanent Crest progress. Recheck Hazard buffs every reset; team order often flips even when the cast list stays similar.
Conclusion
Version 3.5 Tower of Adversity runs on a three-lane Hazard split: Changli on Floor 1, Hiyuki on Floor 2, Yangyang: Xuanling + Mortefi on Floors 3–4. Camellya or Cartethyia handle the white towers. Bookmark this page for the next Hazard refresh, bank Astrite through events, and top up Lunites on VGTopup only when one signature or Echo unlock sits between you and 36 Crests.




Comments