
Tumor Heroes In Honor Of Kings: The Picks That Print Wins When You Know Them
Every Honor of Kings player has a list of "tumor" heroes — the picks that don't necessarily climb fast on a tier list but absolutely warp games when somebody actually knows what they're doing on them. The label is half affection, half warning: if a teammate locks one in and they're skilled, you cruise. If they're not, you suffer. This run-through covers one tumor hero per role, the way they actually play in the current S14 patch, and why each one keeps showing up in my games even when the post-Flow-Update meta is supposed to belong to high-mobility carries like Augran and Loong.
Tumor heroes share a profile. They don't need a clean draft, they don't need their lane to win, and they often perform best in the games where the rest of the team is already underwater. That's the appeal — the win condition lives entirely on your screen. Skip jungle, by the way. The creator's stance was clear: not getting flamed in jungle when you're losing is already a win, never mind "fun." So we're talking clash, mid, support, and the marksman-plus-roamer combo lane.
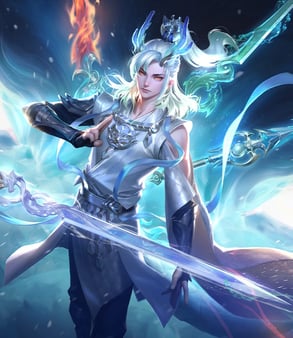
Li Xin Teleport Split-Push Is The Clash Lane Tumor
Dark Awakening Li Xin is the textbook clash tumor. He doesn't farm well early, he gets bullied by the strong-side picks Tencent keeps buffing, and he basically hands the enemy first blood in a lot of matchups. Then level four arrives, you tap into Revenge Form, and the whole identity flips into a teleporting tower-cracker who shows up wherever the enemy isn't.
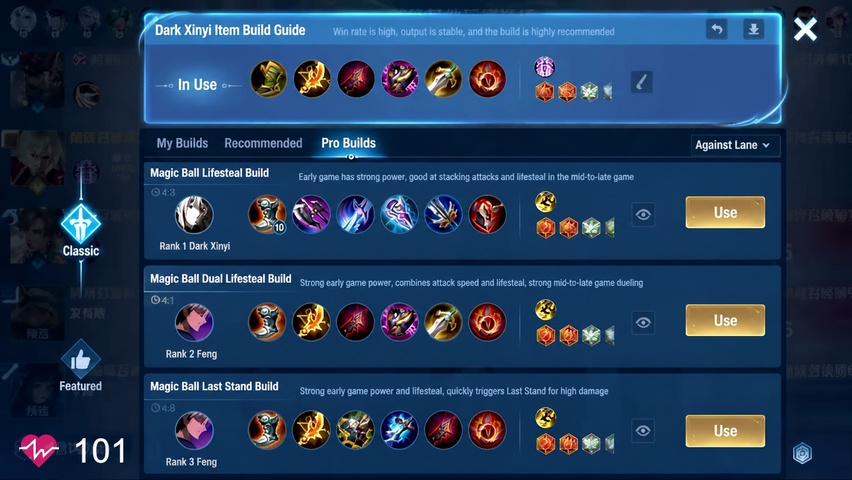
The build the creator copies straight off the Chinese-server leaderboard is the standard Dark-Form path: Sunglow Striker into Axe of Torment, Spikemail, and Siege Breaker, with Boots of Resistance as the safer boots option. After that you fill out the slots with Cuirass of Savagery and Destiny, and you keep Sparkforged Dagger, Doomsday, or Eternity Blade as situational swaps when the enemy stacks armor or you need pure burst. Arcana stay 10 Conflict, 10 Eagle Eye, 10 Hunter. Skill 2 (Chaos Wave) gets maxed first because that's your wave clear and your poke.
The gameplay loop is brutally simple once you accept the early grief. Hand the enemy your jungle camps if they invade. Hand them the river crab. Even hand them a kill at level three if they collapse, because Teleport plus a single wave loss is a fair trade for a level-four power spike. Once Lightning Dash and Chaos Wave are online, you start the actual job: shoving a wave on the bottom side, Teleporting top to crack a tower, then rotating to whichever lane needs a body.
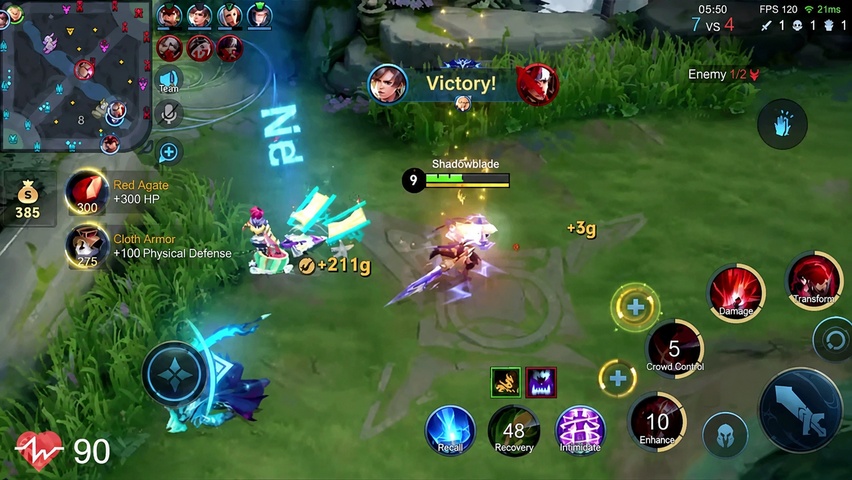
The strongest moment is the electric-blade timing window after first item. Even if the enemy has more kills and a fatter mid laner, the burst pattern of Skill 2 → Skill 3 → auto, or Skill 1 → auto → Skill 3 → auto → Skill 2, deletes squishies who try to chase. Always hold one charge of Lightning Dash for the disengage — committing both stacks to chase is the single fastest way to throw the lead you just built. Against a Han Xin tracking you, the Skill 2 slow plus Dark Form damage flips the duel without needing flash.
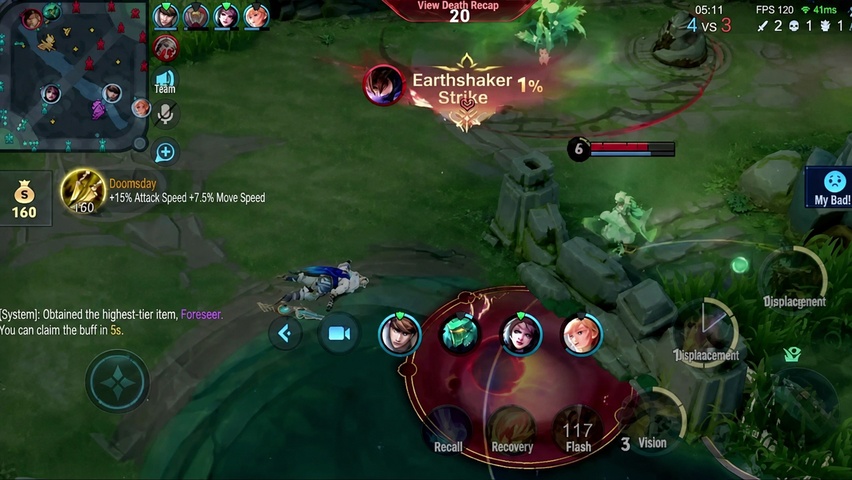
Heino Is The Mid Tumor Who Disgusts Both Teams
Heino is the cleanest mid-lane example of a hero that bullies all nine other people in the lobby — including, sometimes, his own team. The win condition is "go look at the damage chart at the end" and the loss condition is "you didn't understand the form swap, so you fed twice."
The mechanic that makes him work in S14 is the melee-form double-resistance buff layered with the Convergence summoner spell, which the creator uses to halve the cooldown on his recall ult. The flow looks like this: drop a recall anchor at full HP, walk up in ranged form to mark the enemy, swap to melee the moment they collapse on you so the bonus armor and magic resist kicks in, recall, then pop Convergence to refund half the ult cooldown. Twenty seconds later you're back out farming faces. The standard build is Boots of Tranquility, Holy Grail, Insatiable Tome, Augur's Word, Void Staff, Breakthrough Robe, with inscriptions Nightmare ×10, Avarice ×5, Harmony ×5, Mind's Eye ×10, and Flash as the second summoner.
The "anchor in full HP" rule is the one most Heino players The recall point restores you to whatever state you were in when you placed it, so dropping the anchor at half HP just teleports you back into a half-HP body. Set the anchor when you're topped up, then play aggressively knowing your bailout is clean.
Heino's Decision Tree In Skirmishes
Heino's combat pattern punishes whoever doesn't know his cooldowns. The two guidelines that matter:
| Situation | Correct response |
|---|---|
| Ult ready, full HP, enemy collapsing | Drop anchor, walk in ranged, mark, melee-swap on engage |
| Ult down, low resistances | Stay melee in fights, use ranged only to clear waves |
| Two ranged swaps in a row | Anchor point shifts — never do this mid-rotation |
| Convergence up, ult on cooldown | Use it after recall, not before, to refund cooldown |
The creator's best partners list lines up with what you'd expect — Dolia and Sun Bin both protect the cast windows, while Diaochan and Dunshan are the matchups that punish him. Against a Diaochan who can pin you mid-channel, you have to hold Skill 2 specifically to break her control; trading it for damage gets you killed.
The 45% damage share at the end of one of these games isn't a fluke. It's what happens when the recall reset stacks across three or four fights and the enemy can never quite kill you in the window where you'd actually die. You don't out-DPS S-tier mages like Daji on raw burst. You out-uptime them.
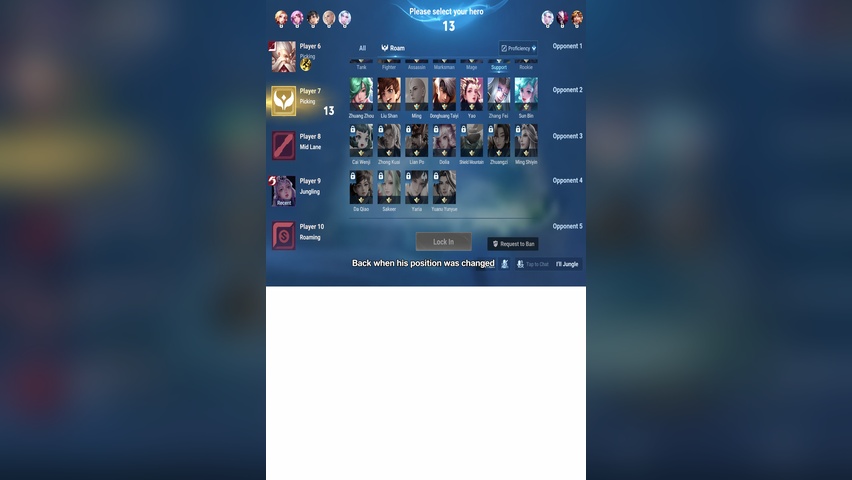
Zhong Kui Is The Roamer Lottery Ticket
Zhong Kui sits in a strange place. The hero is essentially a long-range hook attached to a body that wants to drag the enemy carry under your tower and chain them down. When the hook lands, the game ends. When it doesn't, you spent fifteen seconds in a bush for nothing.
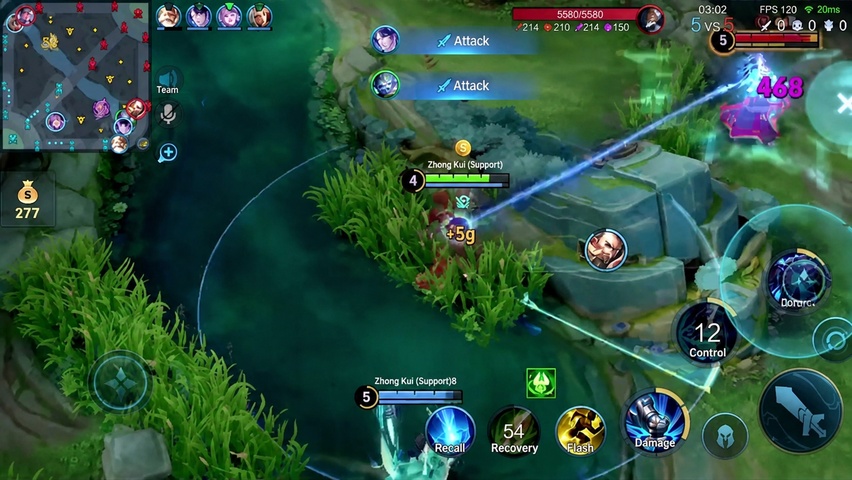
His Skill 2 hook (Join Me) pulls the first enemy hit and tags them, dealing magic damage that scales hard with build. The kit's passive bank — up to 20 stacks of permanent HP from kills and assists — is what turns him from a one-trick into a real frontline by minute fifteen. The build the dossier recommends is Guardian – Radiance, Boots of Deftness, Glacial Buckler, Longnight Guardian, Ominous Premonition, and Overlord's Platemail, with Fate, Hunt, and Void enchantments at 10 each, plus Flash.
The hook play that defines him is the bush pull. You sit in fog of war, hook a Cao Cao or another no-mana frontliner under your tower, and the lifesteal that normally keeps Cao Cao alive gets shredded under tower aggro before he can disengage. Even without coordinated teammates, the pull alone is often enough — Cao Cao struggles against hard CC that bypasses his sustain, and a Zhong Kui hook plus tower shots check both boxes.
In losing games his role flips entirely. Instead of engaging, you sit on the enemy carry's likely path and try to hook the player who's been carrying — usually the strongest fighter on their team. One hook into a tower dive can erase a 5k-gold deficit because the opposing carry is the only thing holding the snowball together.
Baili Shouyue Plus Mozi Is The Tumor Bot Lane
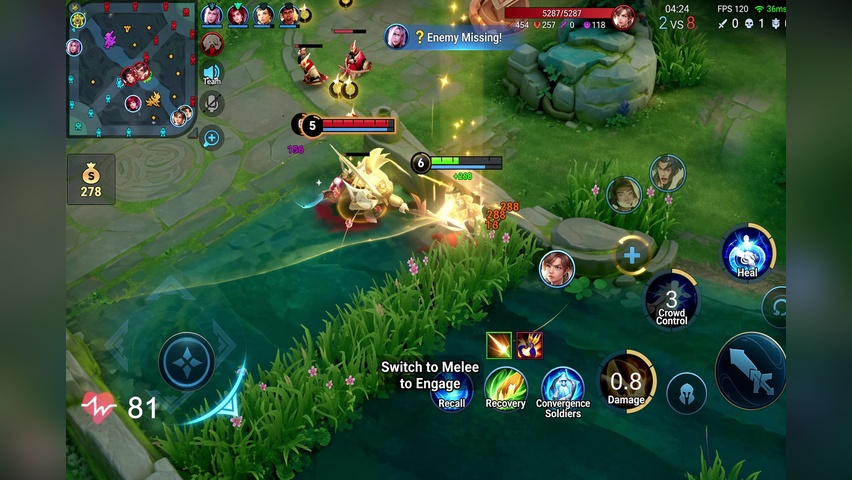
Marksman in solo queue is miserable when you're losing, full stop. The exception is when you bring your own roamer. Baili Shouyue and Mozi together is the lane combo that turns "I have no agency without my support" into "we have lane priority before minute three."
Shouyue's value is the long-range scope plus the precise Skill 2 snipe. Mozi's value is the cannon-shot passive on his fourth basic, the Mechanism Heavy Cannon stun zone (525–775 plus 45% magic on impact, 1-second stun, then a damage crater that ticks for four seconds), and the Mo's Defensive Formation ult that chains stuns at up to 3.3 seconds. The lane combo is mechanical: Mozi frames the enemy with the cannon stun, Shouyue snipes with Skill 2, both basic-attack to bleed the rest of the HP. Even if the marksman lands one auto and the snipe, that's already half the enemy's bar.
| Phase | Shouyue role | Mozi role |
|---|---|---|
| Lane (1–6) | Skill 1 vision, poke with Skill 2 | Cannon-shot passive harass, dash in for stun setup |
| Mid (6–12) | Tower siege, scope picks | Mech cannon zone control, peel for Shouyue |
| Late (12+) | Backline sniping | Defensive Formation as engage or peel ult |
The lane's main weakness is being roamed on by an enemy mid laner who shoves and rotates. The clip in the source video has exactly that — the enemy mid pushes the lane in to free their bot duo. The counter is to refuse to clear: cap the wave at your tower, hide in fog, and punish the second the enemy marksman steps up. Shouyue's Skill 1 vision makes that ambush trivial because you see the rotation before the minimap does.
Why The Creator Skipped Jungle Entirely
This is the part of the video that's basically a joke, but the joke is real. Jungle in this patch is dictated by Augran with a 45.2% ban rate and a 55.1% win rate at high elo, with Lam, Arke, Feyd, and Chi Cha filling the rest of the S-tier. None of those are tumor picks — they're just better than everything else, full stop.
The role also has the worst flame-to-impact ratio in the game. When jungle falls behind, every laner blames you for not ganking. When jungle wins, the laners take credit for the kills. There's no equivalent of "drop a teleport, crack a tower" that lets a losing jungler quietly heal the map. So the realistic answer is: there's no fun tumor jungler this patch. If you want to play off-meta in jungle, you're picking Bai Li Xuance, Han Xin, or Miyamoto Musashi, and all three are mechanical heroes that punish mistakes harder than they reward creativity.
A quick read on those three for context: Xuance lives or dies on Skill 2 hooks landing on the marked target with the Hunted debuff active, which pumps damage by up to 20% while reducing his incoming by up to 30%. Han Xin needs blue buff for lane clear and dragon control, and his ganks chain Skill 2 sweep into Skill 1 lift into the immune ult. Musashi post-rework runs on Momentum stacks — every skill cast grants one, every empowered basic consumes one and reduces Resonance Slash and Swiftness cooldown by a second. Tumor potential, sure. Tumor execution, not in solo queue.
Patch Context That Actually Matters For These Picks
The S14 Flow Update changed enough about the map that some of these picks feel different than they did a season ago. Nezha's new Skill 3 (CC immunity, damage reduction, resistance during charge) and the global-vision ultimate are the biggest rework, and they reshuffle clash-lane priorities — Li Xin split-pushes are riskier when a Nezha can ult anywhere on the map for tower defense. Allain, Biron, Dun, and Arthur all received direct skill-damage buffs, putting more pressure on the clash lane.
The Focus Fire boss mechanic adds 5% damage per stack up to four stacks (20% total) when multiple heroes hit Overlord or Tyrant, balanced by a 5% HP buff on those bosses and 10% on the Shadow variants and the Tempest Dragon. Practically, this means tumor heroes that can show up to objective fights from anywhere — exactly the Li Xin and Heino playstyle — gain value relative to lane bullies who can't rotate.
The Spritelings system also matters. Coolio gives massive cooldown reduction at the cost of HP, which is the obvious pick on Heino because his entire kit cycles around recall and ult timing. Bigly's tank-mode size buff suits Zhong Kui in the late game when you want to soak engage damage between hooks. Runsie is the niche choice — only on the Shouyue side of the duo, where staying alive long enough to scope matters more than CDR.
The post-Flow meta rewards aggression and early tempo. Tumor heroes work right now precisely because the games end faster than they used to, which means a single big tower-pushing window or a single 45%-damage Heino game closes the match before the enemy can stabilize. That window won't stay open forever, so if any of these picks are sitting in your hero pool unmaxed, this is the patch to put hours in.


Comments