
When Jack Buffs and a Dentist Drops on the Same Match
Two matches, one problem. The Hunter on the other side has a kit that your normal react-and-dodge instinct can't solve, and the only way out is positioning, bait windows, and treating every Owl charge like rent money. The first half of this writeup is post-buff Jack on a ruined-walls map; the second half is a Finsen ban-test where the team forgets to lock him out at draft. I'm going to walk through what actually stalled both Hunters past the cipher pop, because the lessons don't transfer cleanly from the standard-speed Hunter pool.
If you came here expecting clean dodge tech, leave that at the door. Against current Jack you do not get the i-frames you used to. Against current Finsen you don't even get the visual cue. Both Hunters punish exactly the habits the rest of the cast trained you to keep.
Why the Post-Buff Jack Is a Different Animal
Jack's whole reputation flipped after the December 25 2025 hotfix. The numbers that look small on a patch note read very differently in match. Balloon Ride speed inside a Fog Zone went up 20%, pallet and window vault speed went up 10%, and his tier-II Hidden in Mist state got a flat 5% movement speed bonus over tier-I. The fourth change is the sneaky one — the recovery animation after every successful hit, including a Freezing Fog tag, got shortened. Translated to chase terms: he closes faster, his stealth ends faster, he carries faster, and you cannot eat a hit and reset distance the way you used to.
The kit on top of that is already nasty. Mist Blade starts at one charge and gains another every 20 seconds with no wipe animation on hit, which means he can rip a throw at any point in the chase without telegraphing the swing. The blade travels in a straight line until it hits a survivor or an obstacle, passes through windows and dropped pallets, and even punches through walls when he's pressed against one. Every blade that connects or expires drops a Fog Zone that lingers seven seconds, and inside that zone his stealth cooldown collapses to three or four seconds with a noticeable speed boost layered on top.
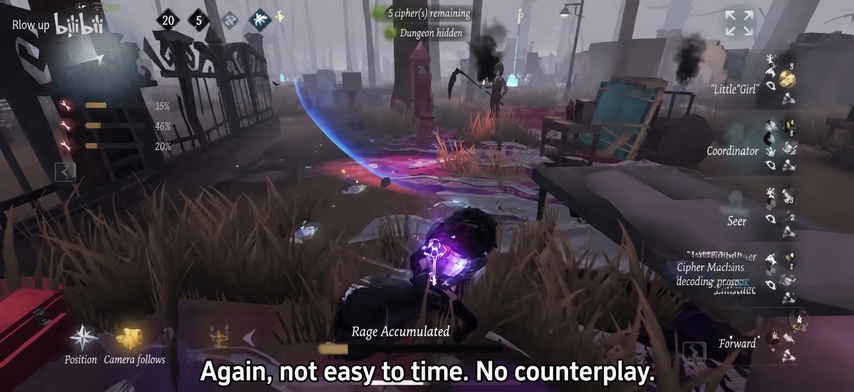
The line in the original commentary lands harder once you stack those numbers up. He is genuinely tough to bait, the second stealth tier doesn't have a clean dodge window, and at close range you are no longer playing the "predict the windup, sidestep, keep running" game that works on most ranged Hunters. You are playing a positional game where the only safe outcome is denying him a Fog Zone that overlaps your kiting structure.
Ruins Routing on a Wall-Cluster Map
The first match leans on a ruined-walls cluster, which is how the map is built — four separate clusters of broken walls, one in each corner, plus factories and buildings between them. Eight chests, complex sightlines, very kiteable on paper. Against Jack that geometry both helps and hurts. The wall stacks block blade lines, but the moment he gets a Fog Zone seeded inside the cluster, every loop you can run becomes a coin flip.
The opening sequence is a textbook example of how to lose tempo. Brush past the wall too tight, eat a small Mist Blade, burn an Owl charge to nullify the chip, and now you have to commit to a structure choice with one less defensive tool. The ruin point itself is decent — but Jack's lens-style read on your route forces you to play it like a one-window-one-pallet structure rather than a free-form loop.
Specific decisions from the chase that are worth copying:
- If you have no vault speed boost banked, do not try to rotate to a double-pallet or the Goddess landmark; you'll get cornered and burn a wheel talent for nothing.
- When he commits to the pallet animation, you can sometimes feed a blade throw on the windup and reset distance, but only if you have not already pre-vaulted the window.
- After he steps onto the pallet interior, drop and run left rather than holding to bait a swing.
- Once you step on a Fog Zone yourself, the post-vault instant stealth on his side becomes the chase-ender. Don't let him get a blade that lands behind you while you're vaulting out.
Reading Mist Blade Windups and Stealth Bait Windows
There's an order-of-operations to fighting Jack inside a structure. Each animation has its own counter, and mixing them up is what gets you tagged.
| Jack action | Survivor counter inside a structure |
|---|---|
| Windup on a normal Mist Blade | Sidestep movement only, do not pallet |
| Windup on a charged blade | Pre-drop the pallet then flywheel out |
| He walks onto the pallet | Drop, run left, do not try to swing back |
| Freezing Fog (three-blade fan) | Hide a wall corner; only 50% damage per tag |
| Tier-II stealth approach | Vault and bait a blade before you commit forward |
The other detail the video keeps repeating: a vault with a movement-speed boost can actually shake a small Mist Blade off you. If you don't have that boost active, eating the blade is sometimes correct — but only if your hand-speed window for the next interaction is already burned. Vaulting a window with no speed buff and a Fog Zone seeded on the landing side is a free instant-stealth knock for him.
A practical baiting pattern: vault, then stop for half a tick, force him to throw a blade through the window, then continue your loop. If you sprint through the window he tier-II stealths into your back arc. If you fake the rotation, he wastes a charge and his next blade is a 20-second cooldown away.
Owl Management as the Seer in a Jack Match
Playing Seer in this match-up isn't optional bonus value, it's the only reason the kite hits the achievement timer. The Owl is an exclusive item that cannot drop from chests, it patrols, it marks teammates, and it blocks damage from most Hunter attacks for a limited duration that scales with how many Seers are on the team — 8, 6, or 4 seconds depending on the count. Extra blocks come from observing the Hunter, and on PC you can manually pick which teammate gets the cover.
Against Jack the Owl economy is brutal. A Mist Blade that grazes the bird burns a charge for what would have been a chip hit, which is a bad trade because Jack's chip is meant to force you to interact rather than to commit a real swing. You will see this moment in the chase — a clip where the bird soaks a small blade on a rotation that didn't actually need protection, and the next bird is already on cooldown when the real swing lands.
Two rules I'd carry into any Seer-versus-Jack match:
- Don't burn an Owl on a Fog Zone tick. The slow is annoying but survivable. Save the charge for the actual blade or the post-stealth swing.
- Don't rotate to a long pallet right after burning an Owl. You don't have the safety net, and Jack's vault-speed buff means a long pallet against tier-II stealth is now a 50/50 at best.
The video does the right thing on the second go-around — a teammate rotates over, you bait a stealth break, you steal a movement-speed pulse, and you reset the chase entirely. That kind of two-person handoff is the only reason the Hunter doesn't snowball.
Locking In Kite Master at the Sixty-Second Mark
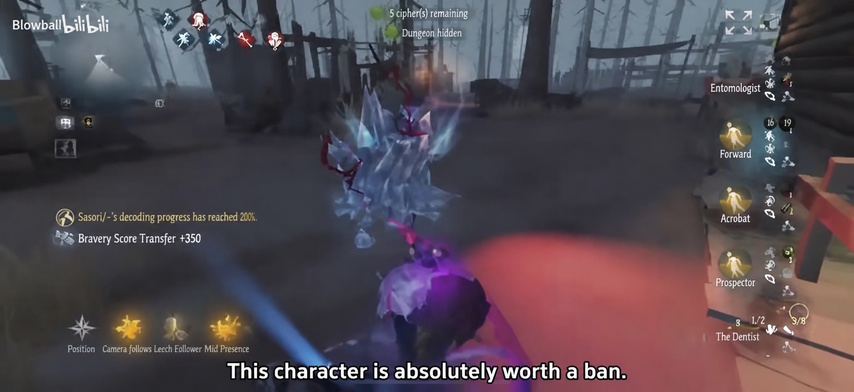
Kite Master is the achievement that pays you for stalling. The condition is straightforward — kite the Hunter for 60 seconds and land at least one pallet protection hit. The variant for Lethal Magic kits asks for 70 seconds and two decoy hits, but the standard achievement is the one that pops in this match. In the OCR you can see the timers stack up: 60 seconds, then 120, then 180, with the protection-hit credit landing inside the same chase.
What's worth pulling out here is that the achievement does not reward fancy dodges, it rewards continued presence in the chase. Against Jack that means accepting two specific tradeoffs:
- You will eat chip damage from Fog Zone passes. That's fine. The achievement does not care about your health state, only about contact time and a protection hit.
- You will pallet-stun him eventually. The Mist Blade kit makes him want to keep distance, so dropped pallets land more often than against a melee-rush Hunter. Save a long pallet for the stun rather than burning it on the early rotation.
When the Coordinator's flare arc gets close to interrupting a chair carry, it doesn't quite save the chase, but it buys enough recovery delay that the Owl charge regenerates and the loop restarts. Flare Gun timing is the kind of teammate input that decides whether your 60-second timer rolls into a 180-second one. The Flare fires from medium distance, momentarily stuns the Hunter, increases his recovery, and interrupts carries or camping near rocket chairs.
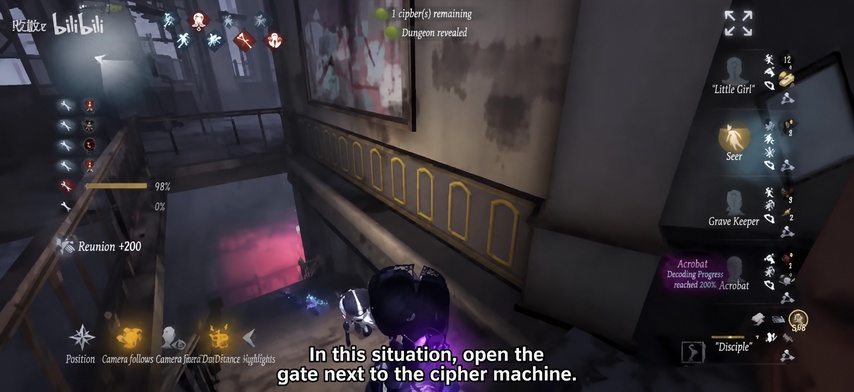
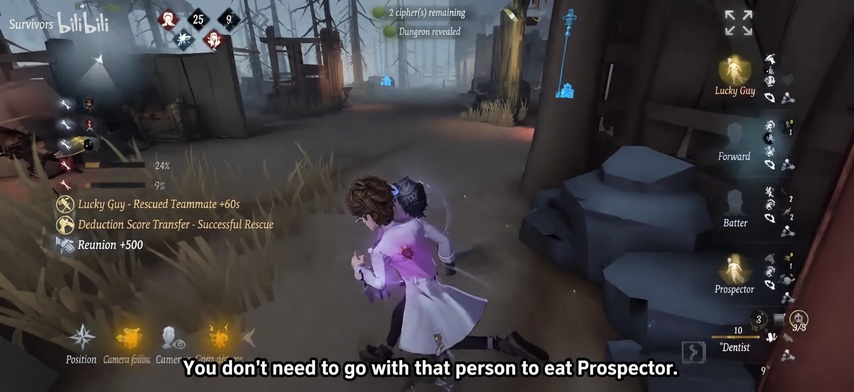
The closing read on this match is simple: when you get sent upstairs by the team and the Hunter has to commit to a long chair journey, do not waste a teammate slot on the rescue. Decode straight through, accept the death, and bank the time the Hunter is spending walking. That decision is what flips a "lucky survived" round into a clean cipher game.
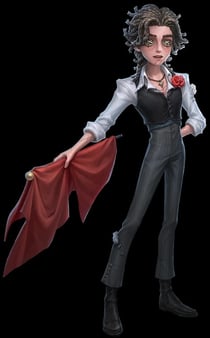
The Dentist Problem and Why Finsen Belongs in Your Ban Slot
The second match is the reason the video is titled the way it is. Finsen, the ranged area-control Hunter tied to Sacred Heart Hospital, is the current pop-the-ban-button pick. His kit is exactly three things — rectangle placement through a lens, instant teleport into the placed zone that elevation, and wall manipulation that lets him erase or create walls inside his operational area. No sedative, no chair trap, no anesthesia injection. Just the rectangle, the teleport, and the wall edit.
Each piece is bad news for kiting fundamentals:
- The rectangle is visible to survivors, but the telegraph is only one to two seconds before the slow activates. That's a second-tier slow plus AoE chip on anyone caught inside.
- The teleport elevation, which means multi-level maps with vertical shortcuts stop being safe. You cannot rely on stair routing the way you would against a normal walk-speed Hunter.
- The wall manipulation is the loop-breaker. Indoor maps with tight pallet-window combinations get rewritten mid-chase, which means the structure you planned to kite at three pallets from now might not have a wall there anymore.
Pre-launch community projection placed Finsen at A-tier with S-tier upside, conditional on the player being precise with rectangle placement. He shipped to live without any test-server adjustments, and there were no nerfs in the April 2026 patch. So the version you're facing today is the version everyone was nervous about.
The conclusion in the video is unambiguous — at current strength, he belongs on the ban list in ranked, the same way other top-priority bans get rotated through. If your team is on the rescue or decode side and you don't have the kit to fight a wall-editing area-control Hunter, you ban him.
Counter-Kiting Finsen by Hugging the Hitbox
If he gets through draft anyway, the chase plan is counterintuitive. The instinct against a ranged Hunter is to keep range and break sightlines, but Finsen's range is exactly what you want to deny. Precise rectangle placement requires room. An overly wide zone gives you more time to walk out before the slow activates. So the punishment for him is to hug his hitbox and force a short-side rectangle that has barely any coverage.
The specific tech the video demonstrates is a two-survivor squeeze — the Seer and a Lucky Guy stack into his face, which collapses his lens distance and forces a five-meter rectangle. Five meters is small enough that you can step out of the zone before the second-tier slow tags you, and the chip damage on a five-meter rectangle is the smallest version of his kit. He gets one of his three tools at minimum efficiency, and you get to keep your loop.
A few support details that hold up the pattern:
- Pallet drops still work, but the wall edits can re-route his approach. Drop early rather than holding for the perfect stun.
- The lens placement has a windup. Use it as a fake-out window the same way you would with a Mist Blade — drop the pallet to sell a route change he isn't actually committing to.
- Lucky Guy's wish system can pull a useful kite item from chests on the way, and the trait that bumps the wished-item odds (plus the two-item carry slot) means a second flare or movement tool is realistic on the way to a long structure.
- When the open-gate phase hits, his per-rectangle damage profile changes value because every uninterrupted second is on a timer. Don't trade chip for time — burn an Owl charge and force a reset.
The match plays out the way it does partly because the Finsen on the other side isn't fully practiced. The video says that out loud — luck plus a Hunter who hasn't fully drilled the kit is what carries the round. Against a player who knows the rectangle geometry by heart, this match-up almost certainly ends with someone on a chair before the second cipher.
Endgame Habits Against Anti-Loop Hunters
The last chase in the video is a different Hunter on the open-gate timer, and the takeaway is the same one that runs under both Jack and Finsen segments: when a Hunter denies your normal looping structure, the cipher pop and the gate timer are the only currencies that matter.
A short list of habits that survived both match-ups:
- Don't drop a pallet you cannot afford to lose just to break a line. Against wall-editing or wall-piercing Hunters, that pallet might not stop the next swing anyway.
- Stay close enough to the Hunter's hitbox to deny his maximum-range tool. The whole video repeats this against both Jack's fog seeding and Finsen's lens.
- Treat the Owl as a chase resource, not an emergency button. Burning a charge to soak chip is bad against Jack; burning a charge to escape a five-meter Finsen rectangle is sometimes worse than just walking out of it.
- When teammates send you upstairs against a long-chair Hunter route, open the cipher, do not rescue. Decode time is the only thing the Hunter cannot edit.
- For the final-cipher window, remember that an incapacitated survivor regains health and resumes kiting if the cipher pops while the Hunter is in attack recovery. Bait the recovery, don't bait the swing.
Both Hunters covered here punish the survivor who plays them like a normal kite match. Jack is no longer the meme he used to be — the post-buff vault speed and tier-II stealth bonus make every loop a tighter window. Finsen is the new ban-or-suffer pick, and until a patch trims the rectangle telegraph or the wall edits, hugging his hitbox is the only honest counterplay. Play both like they delete the loop, because functionally that's what they do.


Comments