The best heroes in Farlight 84 right now are Beau, Kui Dou, Freddie, Phantom, and Momoi, as documented in competitive analysis across the hero roster. In a combat system built around longer time-to-kill (TTK) and 3C movement systems rather than twitch-reflex eliminations, top-tier picks win by chaining disruption skills and rapid mobility. Pair these heroes with high-burst swap weapons like the Ancient Star (effective up to 60 meters) or the Hound shotgun, which deals 144 to 168 damage across its initial two-shot burst to shred shields.
Farlight 84 Hero Tier List and Core Archetypes
Hero selection in ranked matches dictates how your squad takes ground and disengages. Match outcomes depend heavily on ability rotations, sustained tracking aim, and vertical repositioning rather than static crosshair placement (GamingPH).
Role classifications vary across reference guides: older documentation divides capsulers into Assault, Defense, Scout, and Support, while contemporary breakdowns classify them into Attack, Guerilla, Scout, and Control (GamingonPhone). Regardless of role labels, capsulers with built-in escape routes and area denial dominate ranked play.
| Capsuler | Meta Role | Tier Rating | Key Tactical Assets & Skills |
|---|
| Beau | Attack | S-Tier | 150 HP, 480 Strength, Eye of Detonation, Thunder Shockwave, Vengeance Bomb |
| Kui Dou | Attack | S-Tier | Gale Stride, Cosmic Throw, Cosmic Authority transformation |
| Freddie | Guerilla | S-Tier | Backup clone teleport, Spectral Trap scan, E-NET Lockdown Orb |
| Ling Bo | Guerilla | S-Tier | Top-tier guerrilla skirmishing kit |
| Phantom | Scout | S-Tier | Optic Camo team invisibility, Clearsight Grenade, Origem Trap |
| Maychelle | Scout | S-Tier | Top-tier scout reconnaissance tracking |
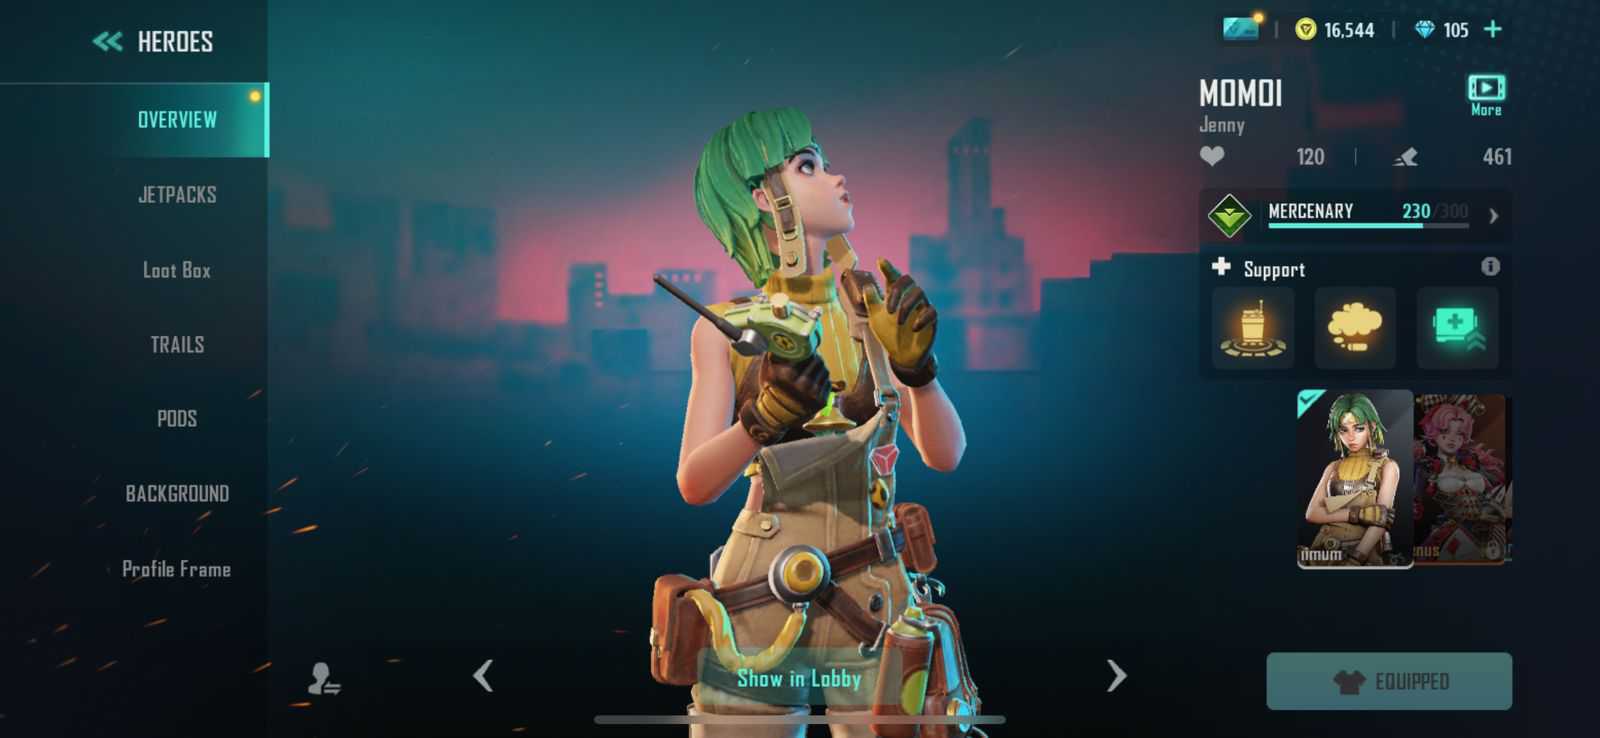
| Momoi | Control | S-Tier | Draco Joylift squad flight, Omni Destruction dino, Shieldy barrier |
Tier classifications and character toolkits sourced from GamingonPhone and REDMAGIC.
Top Competitive Heroes: Abilities and Matchup Roles
Beau: The Frontline S-Tier Attack Specialist
Beau sits at the peak of the Attack class because of his sheer baseline durability. He brings 150 Health Points and 480 Strength to skirmishes, letting him soak significantly more sustained gunfire than standard capsulers (GamingonPhone).
His tactical kit creates immediate zoning pressure at close range:
- Eye of Detonation: Sticks explosive munitions onto surfaces or targets to shatter group formations.
- Vengeance Bomb: Calls in coordinate-based explosive strikes on entrenched enemies.
- Thunder Shockwave: Deploys an area-of-effect stun grenade that immobilizes rushing squads.
Because gunfights rely on tracking rather than instant one-shot eliminations, Beau’s durability gives you the upper hand during prolonged close-quarters duels.
Introduced during the major global update alongside the Nextara map, Kui Dou functions as a high-mobility brawler (REDMAGIC). His kit solves the problem of crossing open ground into fortified high-ground perches.
Kui Dou uses Gale Stride for rapid repositioning across sightlines. He pairs that with Cosmic Throw to initiate or pull enemies out of cover. When direct brawling begins, his Cosmic Authority ability transforms him into an empowered state that enhances both offensive damage and defensive resilience.
Freddie: High-Mobility Hit-and-Run Guerilla
Freddie is the premier Guerilla pick for aggressive flankers who support frontline assault players (GamingonPhone).
His primary survival tool is Backup, an ability that places a clone. Freddie can teleport back to the clone to escape bad trades, even after being downed. For crowd control, his E-NET drops a Lockdown Orb that confines opponents within a strict perimeter. When defending flanks, his Spectral Trap scans and reveals approaching enemies the moment it gets destroyed.
Phantom: Stealth Flanking and Squad Acceleration
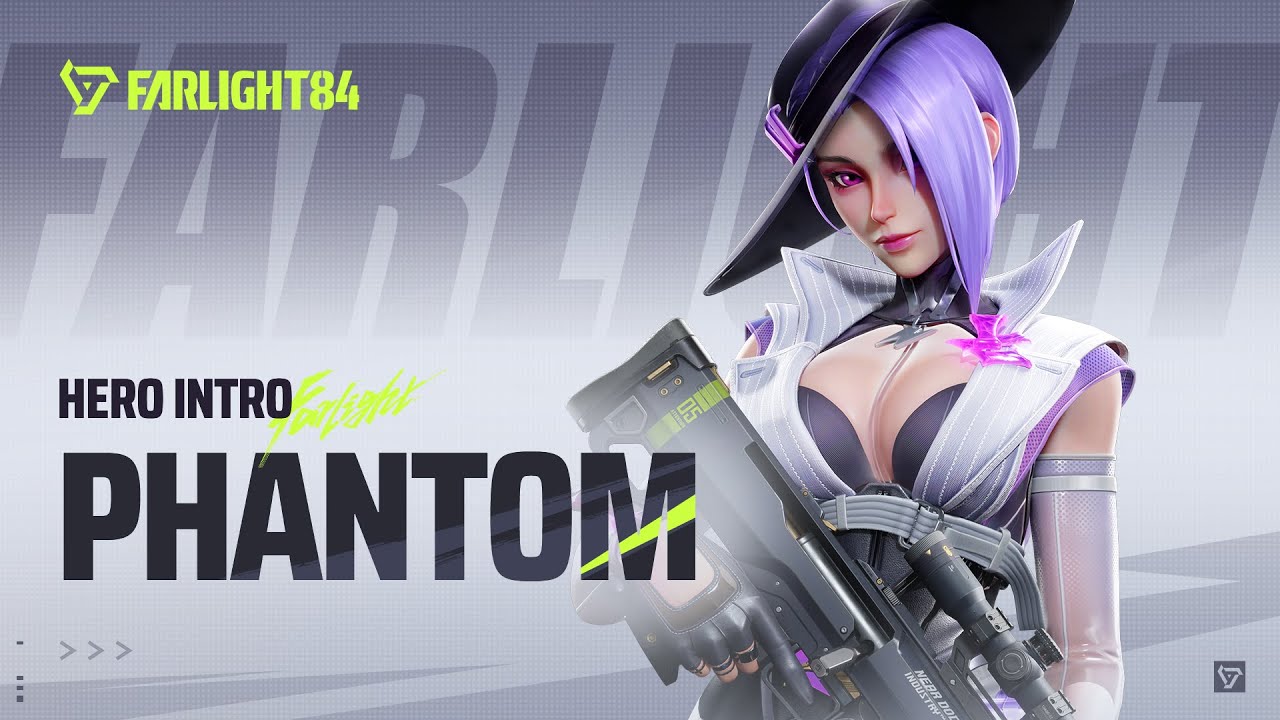
Scout play usually focuses on solo spotting, but Phantom gives her entire squad invisible movement. Her signature Ultimate skill, Optic Camo, turns Phantom and nearby teammates completely invisible while granting an Acceleration speed boost (GamingonPhone).
While cloaked under Optic Camo, players can still replenish shields and health or cast character skills without breaking the effect prematurely. Phantom complements this with Clearsight Grenades to track enemy squads through obstacles and Origem Traps to slow aggressive enemy pushes through choke points.
Momoi: Squad Aerial Relocation and Defense
Momoi controls team pacing and defensive structures. Legacy patch records listed abilities like Supply Drop and Smoke Bomb, but her contemporary kit features deployable companion tools (GamingonPhone).
Momoi uses Draco Joylift to shift into her Bitesy dinosaur form. This grants airborne flight and allows squadmates to hitch a ride and redeploy across terrain together. In static fights, she summons Shieldy via Power Up to block incoming fire with a three-sided barrier. For offensive pressure, Omni Destruction calls down Punchy for wide-area disruption. Punchy enters a frenzied attack state if Momoi gets knocked down during the fight.
Players purchasing battle passes and cosmetic items across mobile and PC platforms use Farlight 84 Diamonds as the primary paid currency.
Best Weapons in Farlight 84 and Two-Shot Swap Mechanics
Weapon balance in the current meta favors high-damage initial bursts paired with rapid weapon swaps. Drawing out fights with extended continuous firing often leads to severe damage-per-second penalties due to weapon recovery pauses.
Ancient Star: Close-to-Mid Burst Energy Power
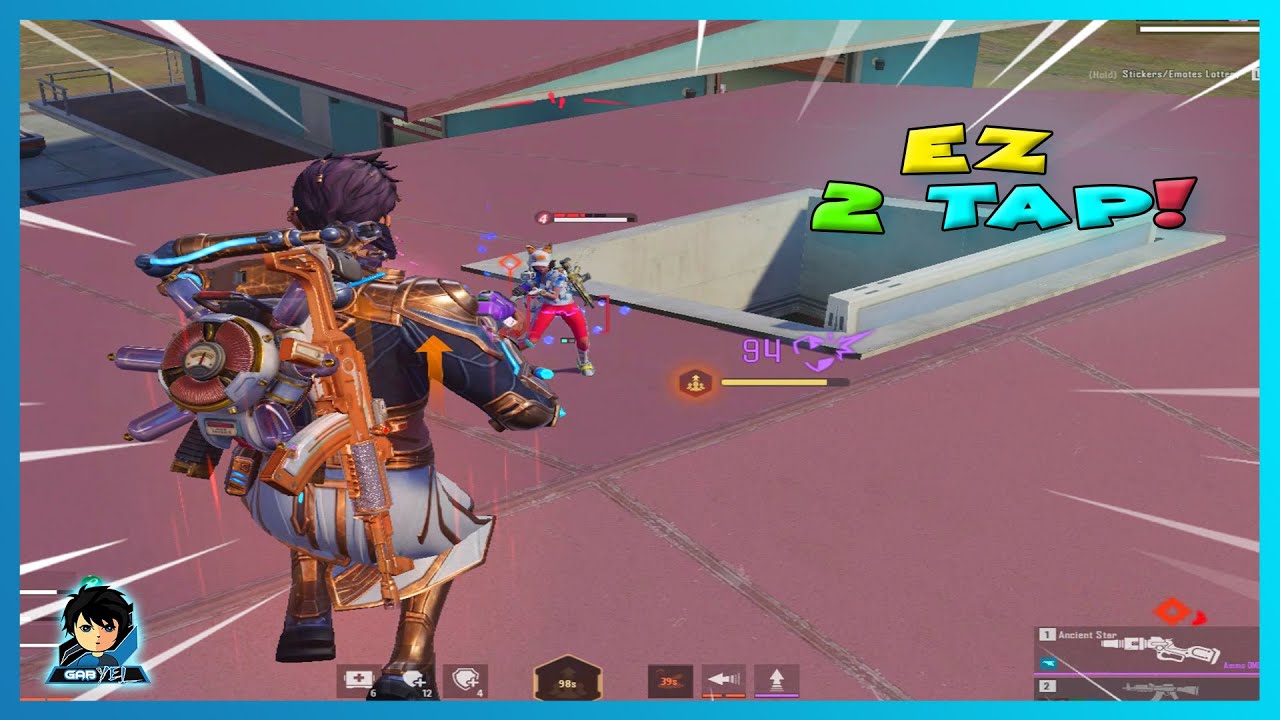
The Ancient Star is a double-barrel energy gun that delivers top-tier close-range burst damage, retaining lethal effectiveness up to 60 meters even after receiving balance adjustments in Season 14 (URGameTips).
An effective Ancient Star rotation relies on disciplined weapon swapping:
- Aim down sights (ADS) to tighten the shot spread before initiating contact.
- Fire both chambers in rapid succession to crack the target's shield.
- Swap immediately to your secondary fully automatic weapon rather than waiting on the reload cycle.
Treating the weapon as a sustained primary wastes its burst potential. Firing two rounds and switching guarantees the fastest time-to-kill.
The Hound: Managing the Attack Rhythm
The Hound shotgun acts as a shield shredder at point-blank range, but punishing weapon delays demand strict mechanical timing (URGameTips).
Because of a preloaded chamber mechanism, the Hound fires its first two shots within one second. Each shot inflicts 72 to 84 base damage, totaling 144 to 168 damage across the burst. However, pulling the trigger for a third consecutive shot triggers a cycle delay that extends the shot interval to roughly two seconds.
To maximize the Hound:
- Fire one or two shots from close range to crack shields.
- Immediately switch to an SMG or rifle to finish the remaining health pool.
- Use character mobility skills, jet movement, or cover to reset the Hound’s firing delay before re-engaging.
S-Tier Character Loadouts for Competitive Ranked Matches
Pairing high-utility hero kits with burst-swap weapons cuts vulnerability windows and capitalizes on high burst damage.
1. The Breacher Setup: Beau with Ancient Star
Beau's 150 HP and 480 Strength let you press directly into fortified rooms. Open the breach by throwing an Eye of Detonation to scatter defenders, then hit ADS with the Ancient Star. Fire two rounds into the closest target, immediately switch to an automatic secondary to confirm the kill, and deploy Thunder Shockwave if a second squad member attempts to trade.
2. The Flank Infiltrator: Freddie with The Hound
Freddie relies on unpredictable angles. Deploy Backup behind hard cover before flanking a squad. Close the distance, fire two rounds from the Hound to deliver 144 to 168 damage, and swap weapons. If the engagement draws third-party crossfire or you take critical shield damage, activate Backup to teleport safely back to your clone.
3. The Coordinated Ambush: Phantom with Dual Burst Swaps
Coordinate with your squad to pop Phantom's Optic Camo. Use the Acceleration boost to sprint undetected into mid-range positioning (within 60 meters). Open fire simultaneously with Ancient Star burst shots. If opponents attempt to push back through narrow paths, cut off their pursuit with an Origem Trap while healing under cloaking.
Frequently Asked Questions
How does Phantom's Optic Camo benefit team engagements in ranked play?
Optic Camo grants invisibility and an Acceleration movement speed boost to both Phantom and nearby allies (GamingonPhone). Teammates can replenish shields and health or trigger active character skills without ending the cloak early, creating safe resets during chaotic team fights.
What is the optimal firing rotation when using the Hound shotgun?
Fire only one or two shots at close range to deal 144 to 168 burst damage, then immediately switch to a secondary weapon to finish the target (URGameTips). Firing a third consecutive shot introduces a two-second delay that drastically tanks weapon DPS.





Comments