To lock down S-Rank clears in Shiyu Defense Critical Nodes, you must clear both halves under the strict stage timer threshold by deploying two three-agent squads that coordinate rapid Daze buildup with high-potency burst windows. The operational secret to shaving minutes off your run is eliminating idle field time: equip your Stun specialist with Impact on Drive Disc Partition 6, run the 4-piece Shockstar Disco set for a 20% Daze infliction boost against primary targets, and exploit boss mechanics that allow up to three chain attacks to trigger teamwide buffs before your carry dumps burst damage into the staggered target.
Roster Structure: Two Halves, Six Agents
Shiyu Defense Critical Nodes leave zero room for solo-carry shortcuts. As TechRadar notes, endgame floors strictly demand two distinct squads of three agents. Balance your investments evenly across both sides: a blisteringly fast first half won't save your S-Rank if side two runs out the clock.
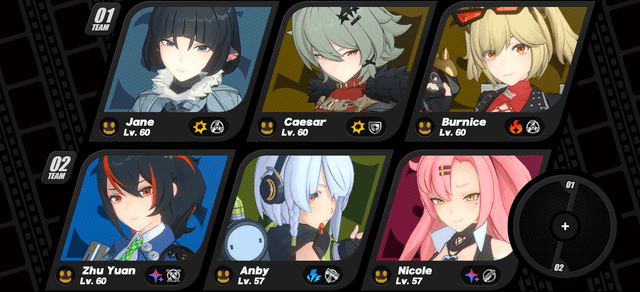
When drafting your squads, give every slot an explicit job:
- The Stun Specialist: Anchors field presence while the boss is active, applying Daze with elevated Impact multipliers to crack the stagger gauge.
- The Support or Anomaly Enabler: Applies defense shred, buffs squad attack, or accelerates elemental application to trigger anomaly rotations.
- The Dedicated Attacker: Stays off-field until stagger triggers, entering during chain attacks to dump energy and burst combos.
Skimp on either side's stagger engine or burst carry, and your clear time collapses immediately.
Optimizing Zenless Zone Zero Critical Node Daze Buildup
A sluggish Stun phase bleeds more seconds off your timer than poor DPS. Attack-specialty agents simply lack the baseline Impact values needed to stagger elite targets quickly. As documented by TV Tropes, Stun-specialty characters carry the dedicated Impact and Daze multipliers required to crack enemy defenses and force vulnerability windows before the clock expires.
Drive Disc setups demand strict discipline here. Build guidance from Dbltap confirms Partition 6 must prioritize Impact as its primary stat. Chasing raw offensive stats on slot 6 cripples your stagger cadence and costs you valuable clear time.
| Equipment Slot / Set | Visual Reference | Sourced Passive / Stat | S-Rank Critical Node Function | Reference |
|---|
| Shockstar Disco (4-Piece Set) |  | +20% Daze to Main Target | Increases Daze dealt by basic attacks, dash attacks, and dodge counters against the primary target | PCGamesN |
| Shockstar Disco (2-Piece Set) | 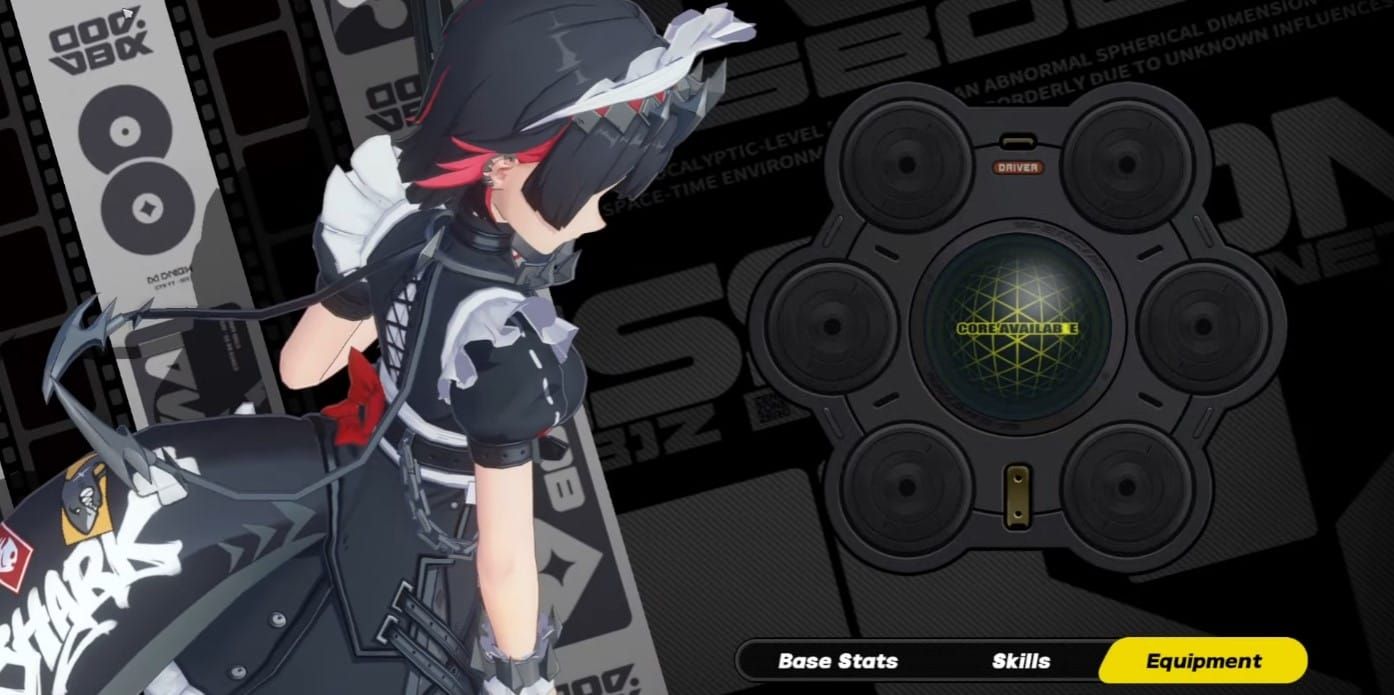 | +6% Impact | Directly scales baseline Daze infliction rate on Stun specialists | PCGamesN |
| Partition 6 Drive Disc | 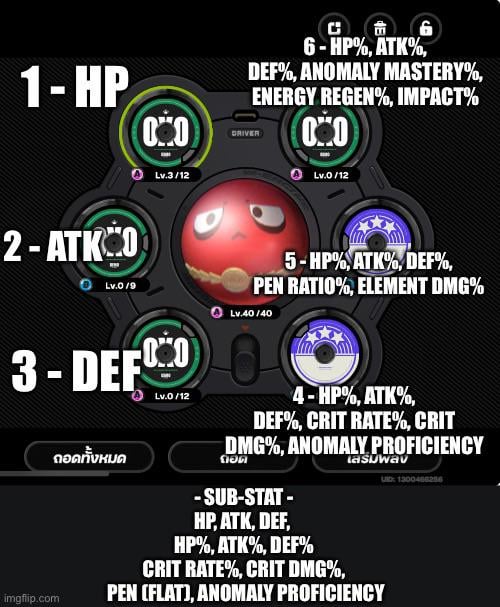 | Impact Main Stat | Crucial Drive Disc roll to maximize stagger meter accumulation | Dbltap |
| Swing Jazz (4-Piece Set) | 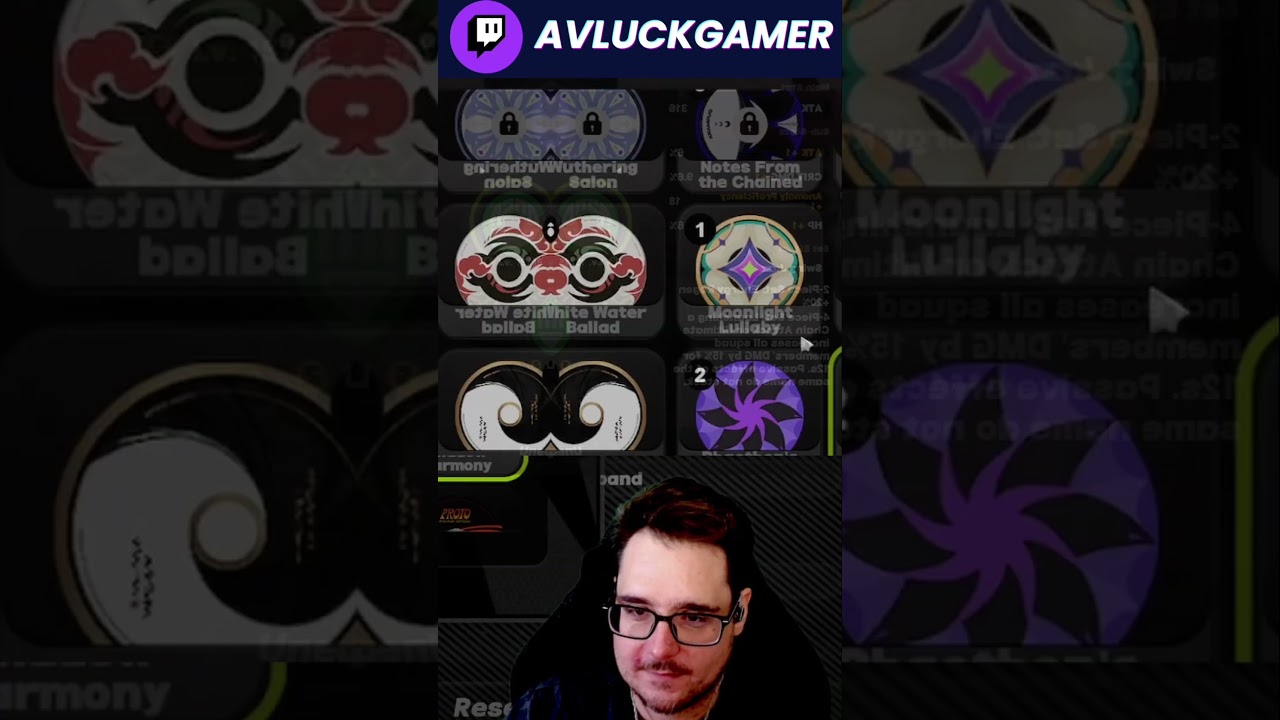 | 15% Squad DMG Buff for 12s | Triggers teamwide damage bonus following a chain attack or Ultimate | PCGamesN |
The 4-piece Shockstar Disco set adds a 20% Daze boost to basic attacks, dash attacks, and dodge counters against your primary target, per PCGamesN. Stacking that set bonus on top of an Impact Partition 6 disc compresses your stagger cycle, leaving maximum room on the clock for your burst carry.
Decibels and Shiyu Defense Assist Points Management
Holding an aggressive pace without wiping comes down to managing defensive swaps. Executing Dodge Counters and Assist Follow-Ups directly charges your squad's shared Decibel meter, which you need for Ultimates, as noted by TV Tropes.
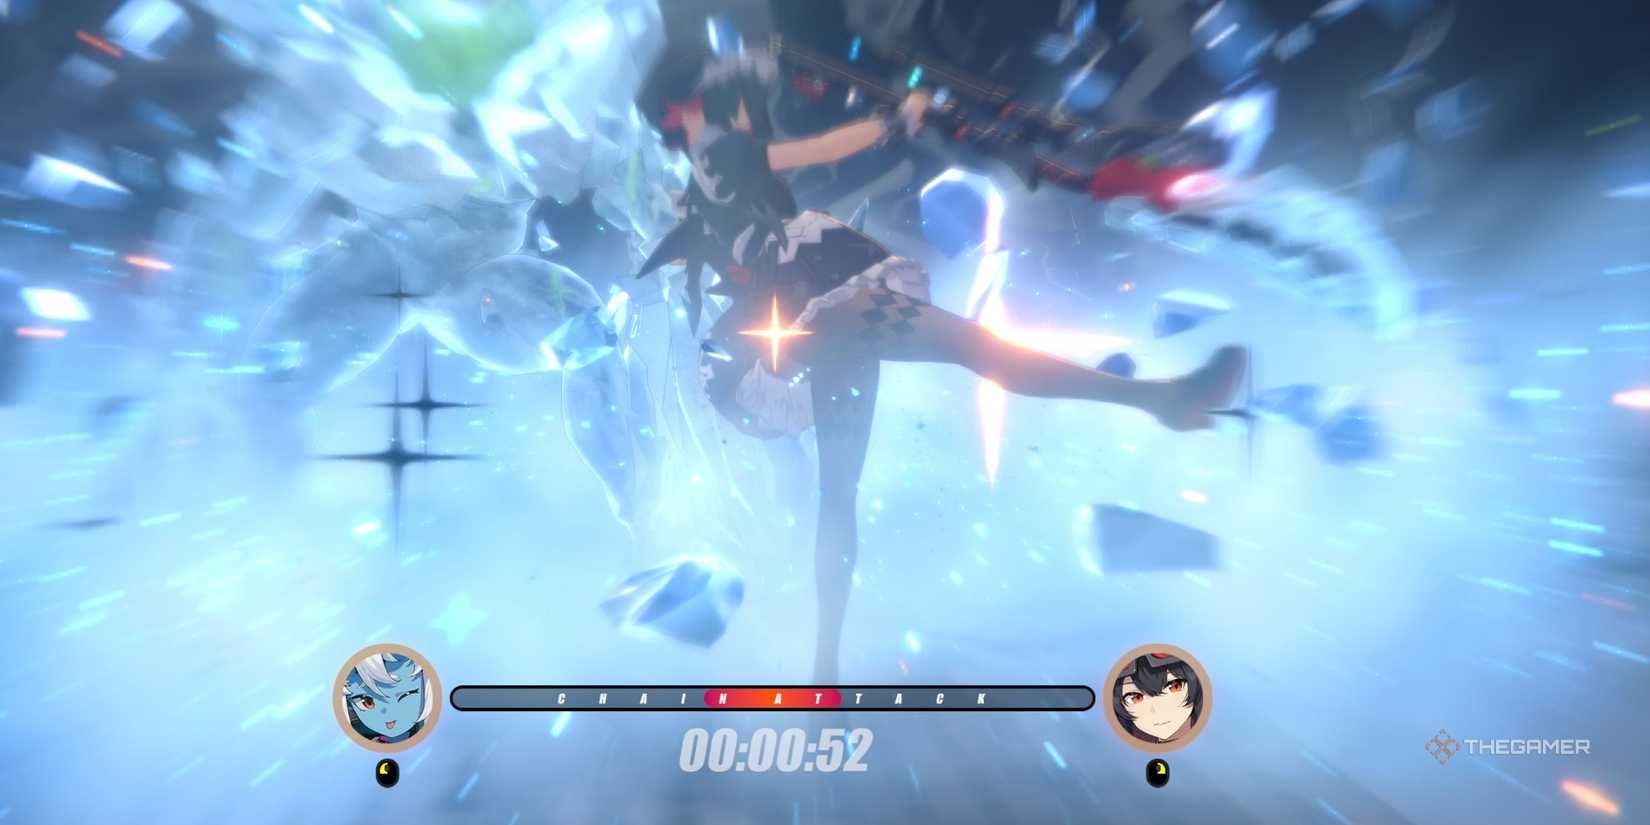
Assist Points are a finite resource. If you burn through all your defensive assists by reacting carelessly to every basic swipe, you will have no switch charges left when an elite boss drops a high-damage multi-hit combo.
- Save defensive assists for heavy strikes: Let your Stun agent dodge normal attacks using basic sprint dodges to trigger Dodge Counters, which preserves Assist Points.
- Cash in on yellow flashes: When high-impact boss attacks display the yellow indicator, swap immediately to trigger an Assist Follow-Up. This halts boss momentum and loads Decibels into your squad gauge.
- Hold Ultimates for Stun windows: Resist the urge to activate your Ultimate the moment the Decibel meter caps out. Save the button until the stagger bar pops.
If underleveled agents or missing discs stall your progression, Monochrome top-ups for Zenless Zone Zero convert 1:1 into Polychrome. You can funnel that into stamina refills to farm Drive Disc tuning materials or pick up Master Tapes for Signal Searches.
Maximizing Boss Stun Windows and Chain Attacks
Staggering a boss behaves differently than crushing standard mob waves. Where basic enemies trigger only one chain attack, large boss encounters grant up to three triggers once you fill their Daze meter, according to TechRadar.
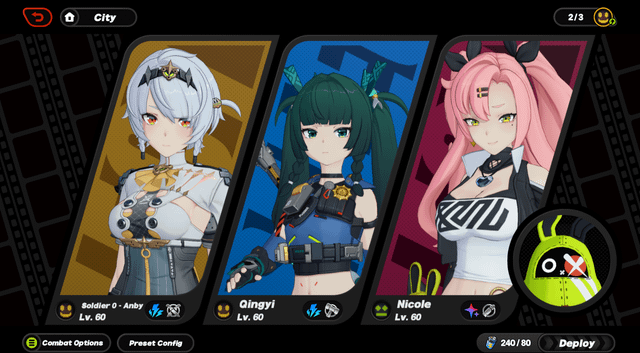
That three-step chain sequence is where you win or lose the run. Rotations highlighted by SlimCoreKeto show how a synchronized lineup tears through bulky bosses:
- The Stun Trigger: Your Stun agent (such as Qingyi) caps the enemy Daze meter, prompting the first chain attack window.
- The Debuff / Buff Transfer: Cycle your second chain attack into your Support character. For instance, Nicole groups targets and shreds enemy DEF, while activating the 4-piece Swing Jazz buff (+15% squad damage for 12 seconds per PCGamesN).
- The Carry Finisher: Conclude the chain sequence by swapping in your primary Attacker (such as Zhu Yuan entering Suppressive Mode). With the boss incapacitated, DEF shredded, and Swing Jazz active, dump your pooled EX Special Attacks and Ultimate directly into the staggered enemy.
Tier evaluations often split on support value—for example, community spreadsheets occasionally list Soukaku as a low C-tier pick, while high-tier speedrun breakdowns cite her as an essential Ice enabler and ATK buffer. The lesson: ignore raw letter grades and build around how cleanly an agent transfers buffs into your 12-second stun window.
Step-by-Step Combat Loop for Shiyu Defense Critical Nodes
Lock in this combat loop across both halves to keep the timer from spiraling:
| Phase | Tactical Action | Mechanical Objective | Verified Source |
|---|
| Phase 1: Daze Buildup | Basic/Dash attacks on Stun Specialist | Stack Daze meter rapidly via Shockstar Disco 4pc (+20% Daze) | PCGamesN |
| Phase 2: Decibel Farming | Timed dodges and Assist Follow-Ups | Generate Decibels for team Ultimate while conserving Assist Points | TV Tropes |
| Phase 4: Buff Application | Chain into Support agent | Apply DEF shred and proc Swing Jazz (+15% squad DMG for 12s) | PCGamesN |
Shiyu Defense Critical Node FAQ
How many teams are required to challenge Shiyu Defense Critical Nodes?
Endgame Shiyu Defense stages mandate building two separate squads of three agents each to clear both halves of the node (TechRadar).
Which primary stat should Stun agents use on Drive Disc Partition 6?
Stun specialists should always roll Impact as the primary stat on Drive Disc Partition 6 to maximize baseline Daze buildup rate (Dbltap).
How do Dodge Counters and Assist Follow-Ups build team damage output?
Executing timed Dodge Counters and swapping into Assist Follow-Ups feeds the squad's shared Decibel gauge, generating the resource required to trigger Ultimates during stun phases (TV Tropes).
Does Swing Jazz stack if two agents run the 4-piece set?
No. The 4-piece Swing Jazz set grants a 15% squadwide damage buff for 12 seconds following a chain attack or Ultimate, but identical passives do not stack (PCGamesN). Assign it to a single support agent per team.
Follow VGTopup for more Zenless Zone Zero news~







Comments